
Delivering for clients
Your first client on your playbook
How to install a playbook for your own business or a client, what you need first, and why nothing is created until the last screen.
Installing a playbook takes a few minutes. You can leave and come back. Cook creates nothing at all until you finish the last screen.
Before you start
Pick the client it is for. If you run one business, that is your own business and it is already there. If you manage several, make sure the right one exists first. See What “client” means.
Check you are allowed to build routines. On your own, you are the owner and you are allowed. In a team, if the install is blocked, whoever owns the workspace can change your role in Settings.
Depending on which playbook you install, you may also need some of these. Cook checks for them during setup and links you to anything missing, so you do not have to work it out in advance:
- A booking page — a page where someone picks a time that lands in your calendar. Needed if the playbook sends appointment links.
Start the texting number early. A business phone number has to be cleared by the carrier before it can text customers. That is paperwork with a waiting period of a few days to a few weeks, and Cook cannot skip it. Everything else here you can do today.
The Appointment Lead Engine keeps email and immediate owner bell alerts as its core. With texting set to automatic, an unavailable number leaves SMS steps out. Choose required texting if the journey must not start without it. Missing email delivery can remain while you prepare disabled routines, but blocks activation.
Setting it up, screen by screen
Open Playbooks in the left sidebar. Choose a playbook, then start the setup. You can also ask in chat: “Set up appointment follow-up for this client. Use email and notify me immediately; I have no texting number.” Cook reads the client setup and asks for missing details.
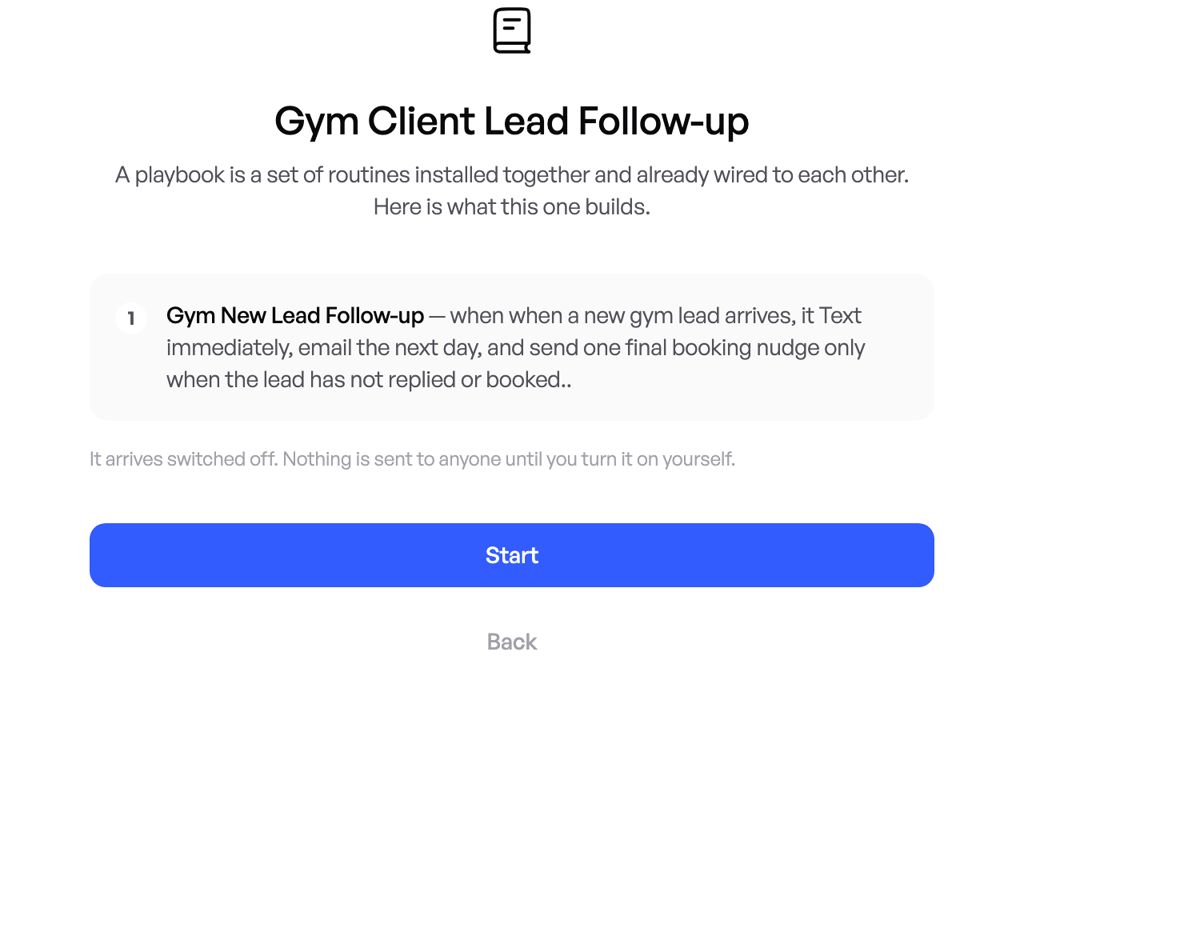
1. Read what it will do
Check which routines it will create, what starts each routine, and what each one does. Close the setup if it is not what you need.
2. Choose the client
If you run one business, choose your own — it is the only one there. If you manage several, pick carefully: every name, link, message and routine created next belongs to that one and nothing else sees them.
3. Fix anything missing
Cook checks for the booking page, the texting number and email sending. Anything required and missing appears in red with a link to fix it.
Missing required setup values stop installation. Delivery requirements are shown separately: you can prepare disabled routines before connecting a sender, then resolve those blockers before activation.
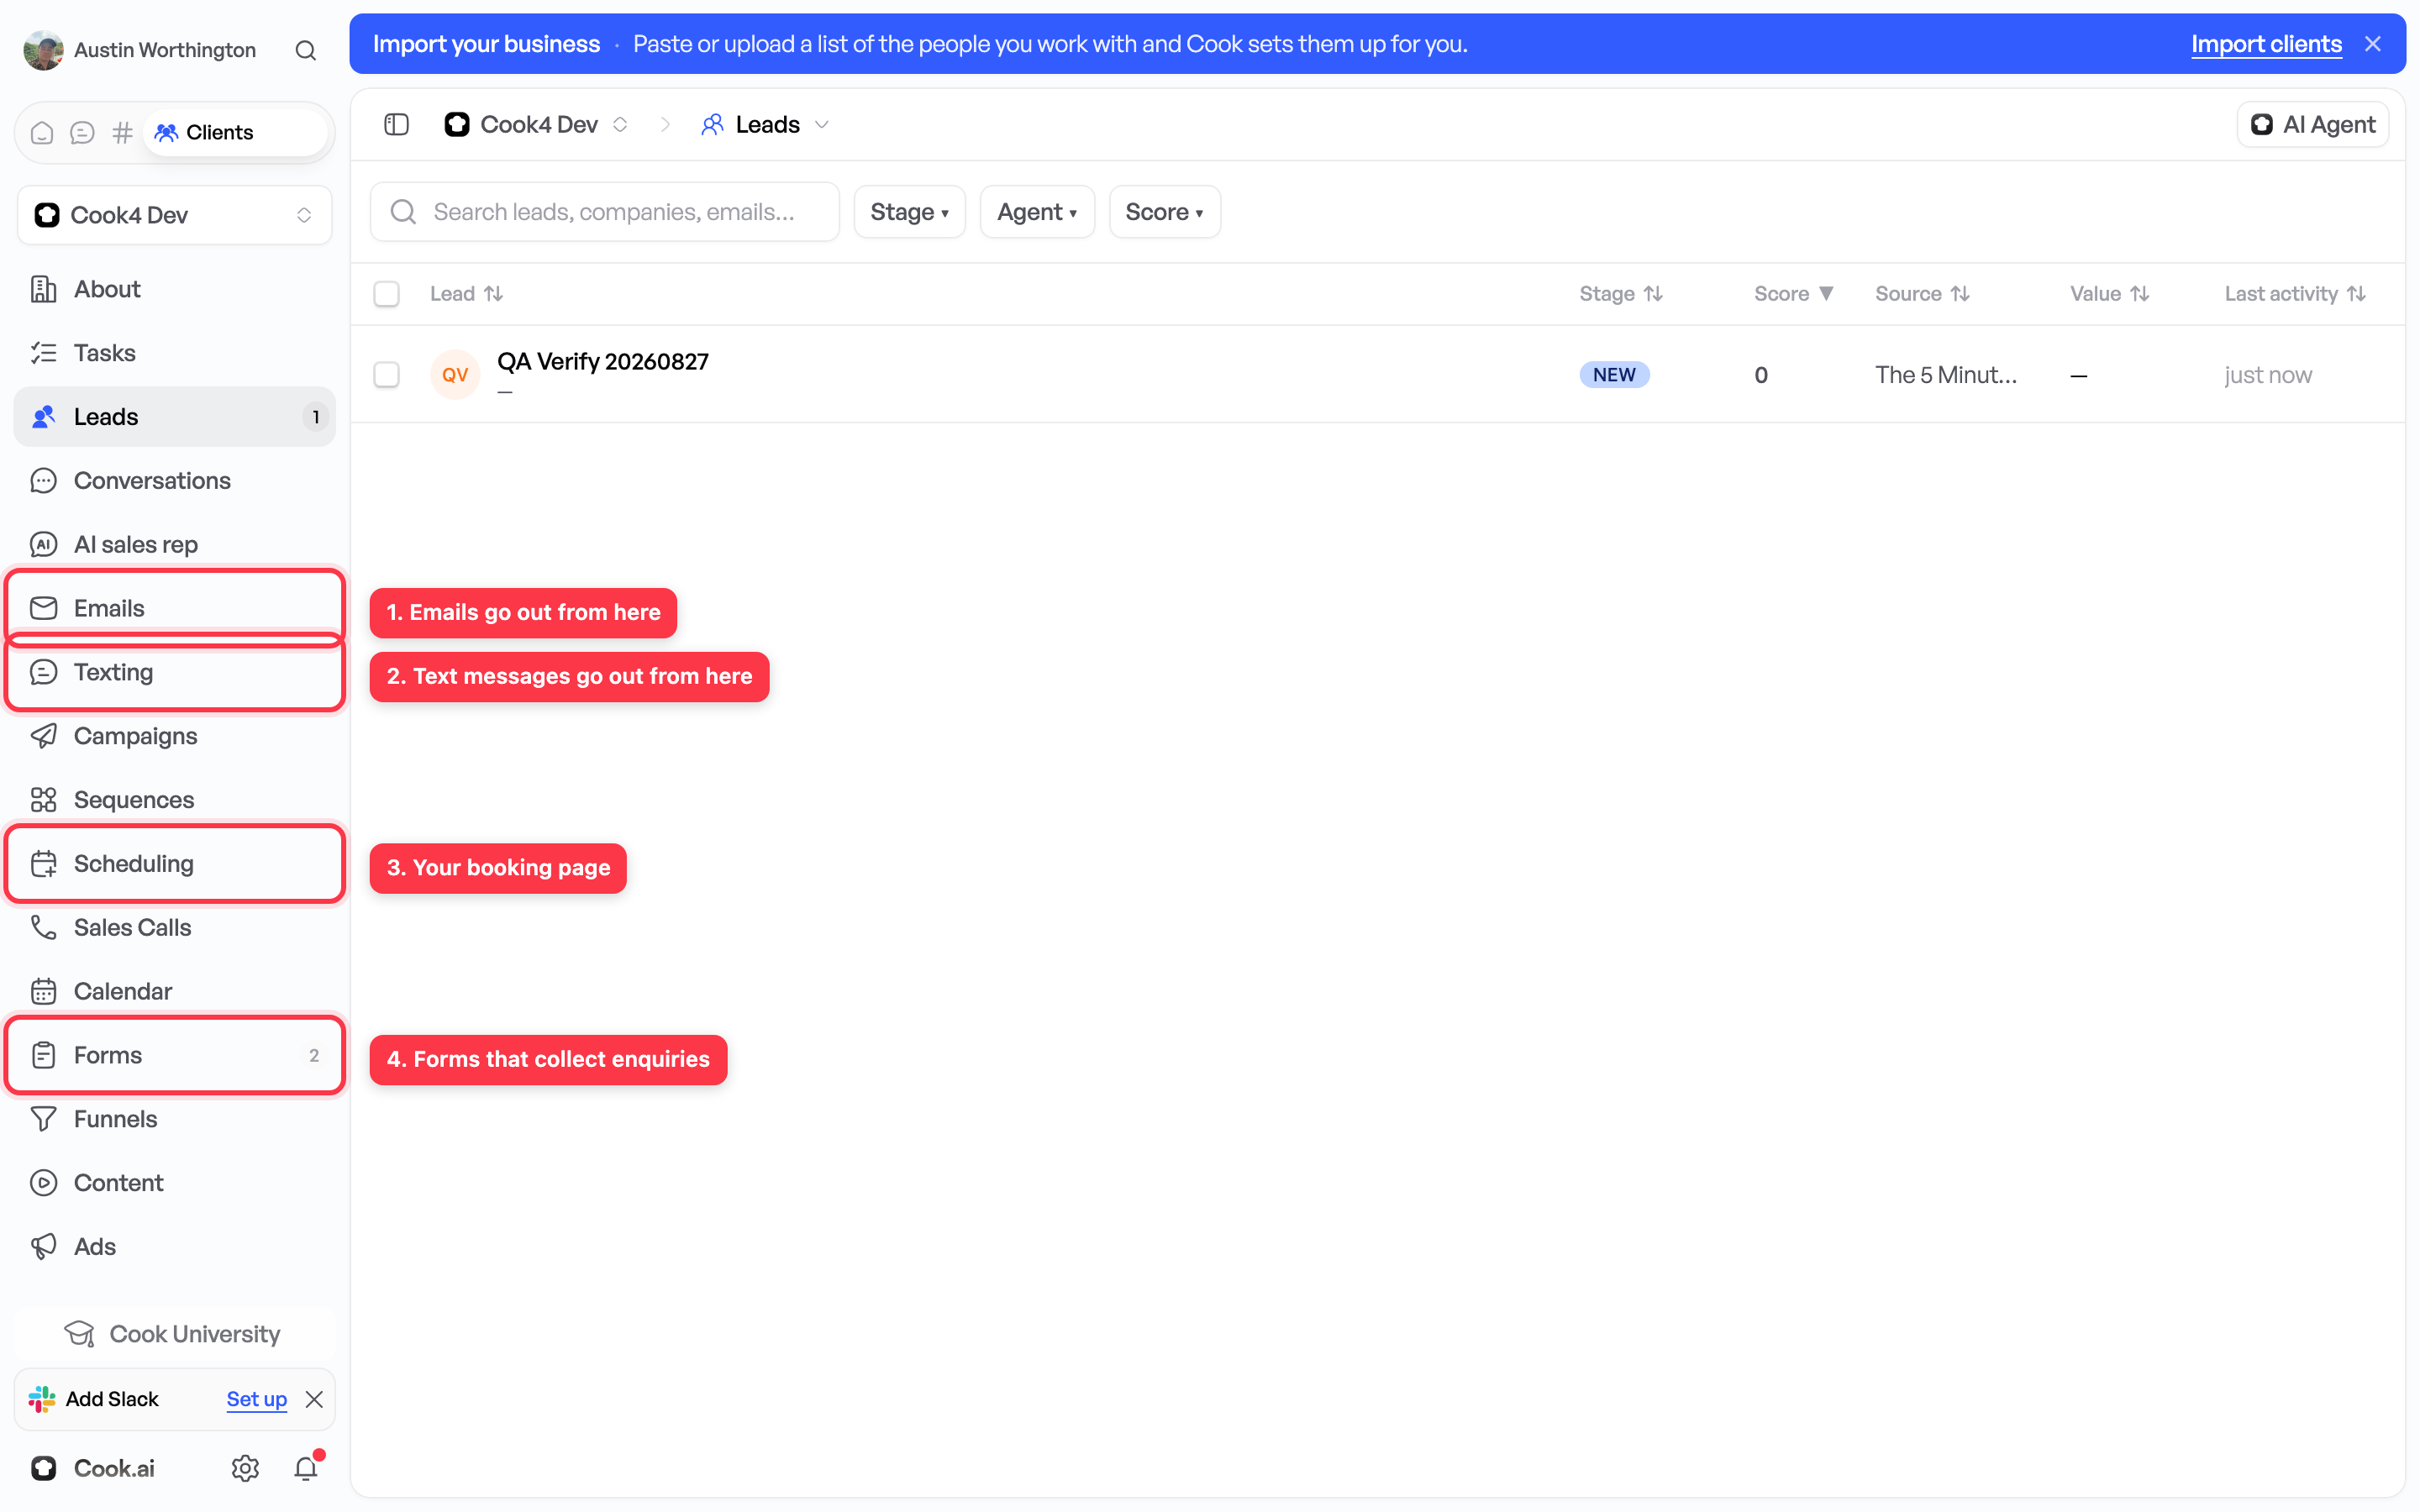
4. Answer the questions
These are the details that differ from one business to the next: business name, the area you cover, your booking link, and two things worth spelling out:
- Message sender — the phone number or email address the messages go out from, so replies come back somewhere you will see them.
- Alert channel — where Cook pings you when a person needs to step in. A Cook channel, or a Slack or Discord channel if you use one.
Questions marked optional can be skipped. If you skip one, Cook leaves out the part of the set-up that needed it.
5. Read every customer message
The messages are already written, and you can change any of them. Read them out loud. Make sure they sound like you and that the links are right.
6. Review the setup
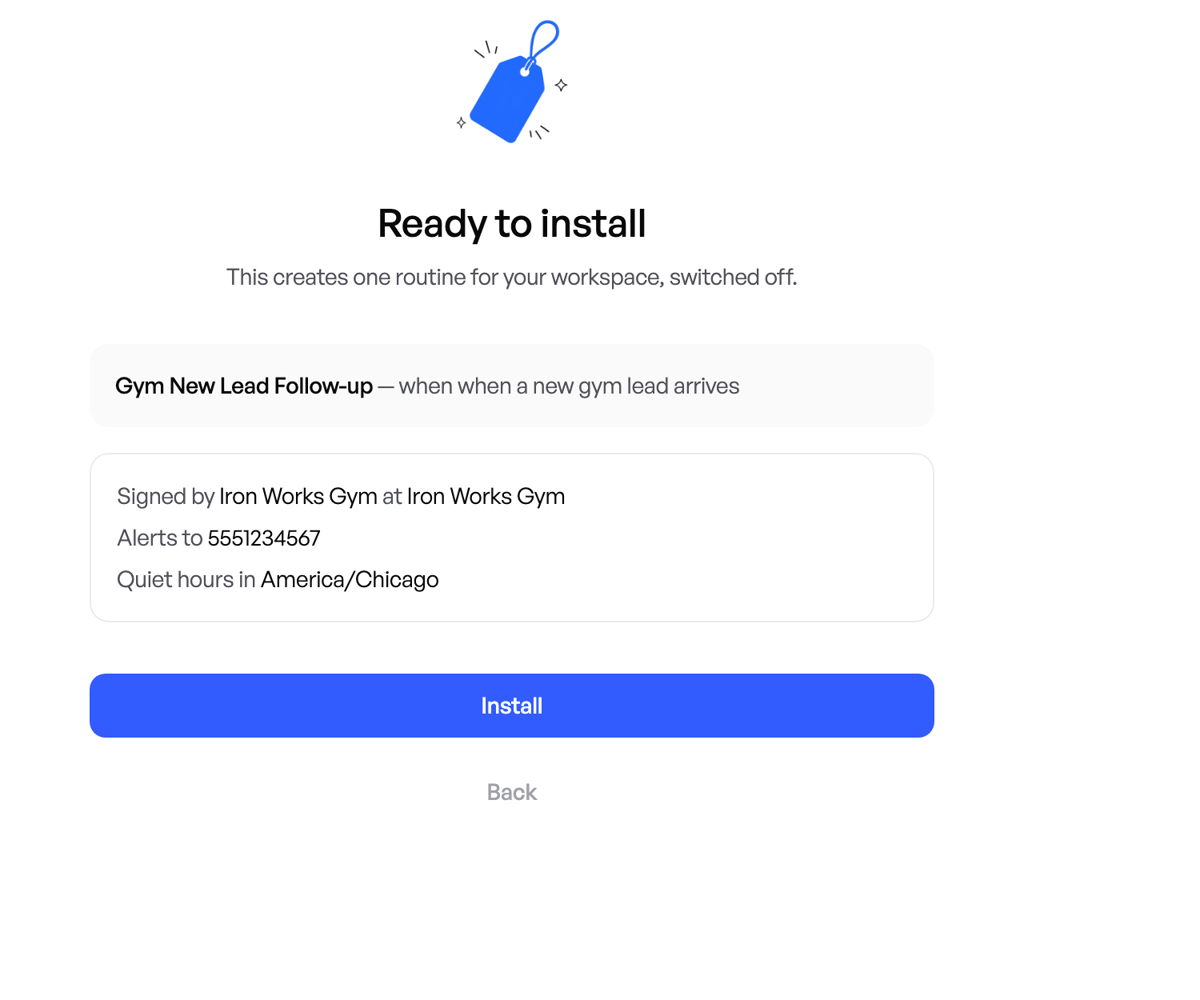
This is your last check. Nothing exists yet.
7. Finish
Cook creates the routines in a folder named for the client. Every routine is off, so no customer has been messaged.
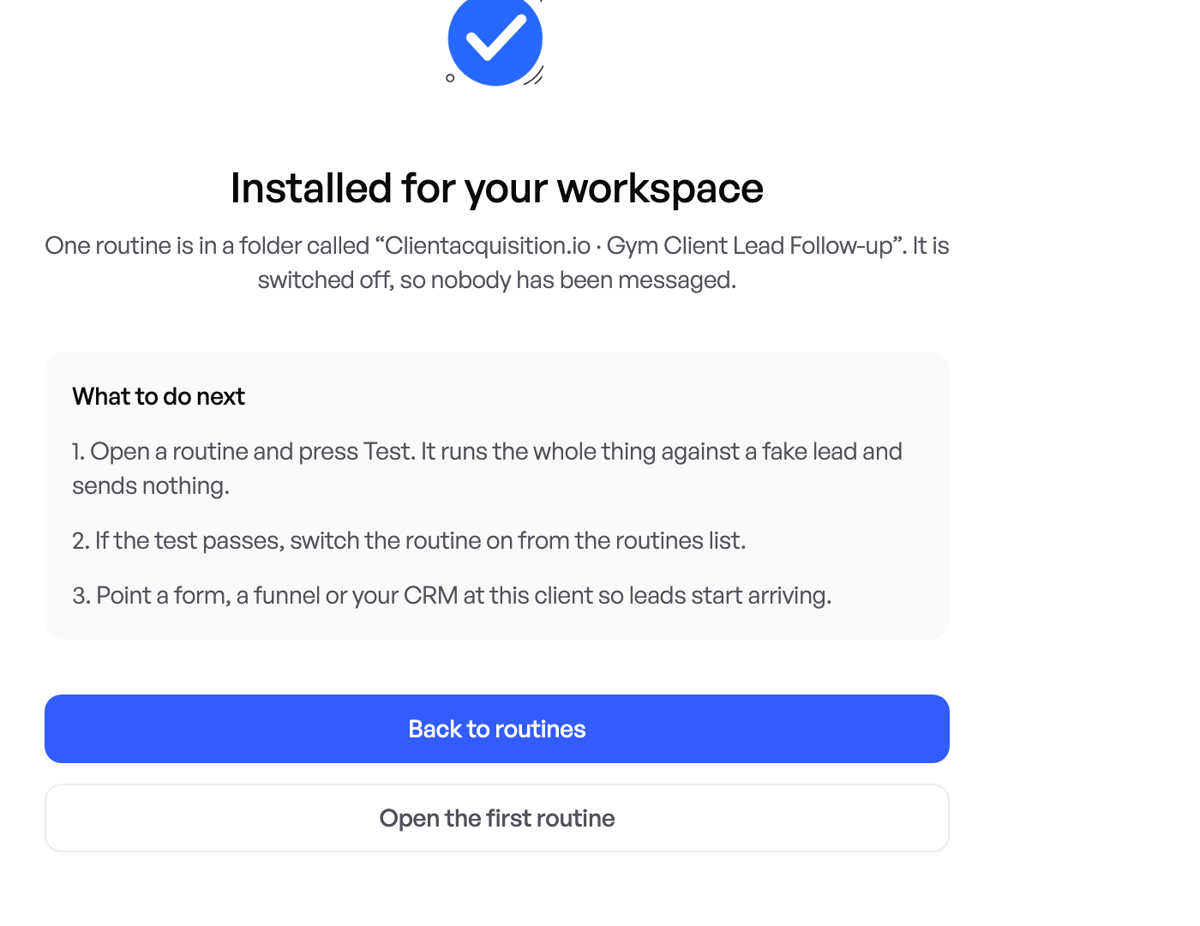
What you have now
- Routines, ready to test. Every one is off.
- Your wording, saved, which you can change later.
- If the playbook includes standards, one approval request. Those rules are not added to your workspace until you approve them — see Deciding before a rule is added.
Nobody has been messaged.